How do I create and manage a group?
Groups help you organize your users, making it easier to filter reports and invite multiple trainees to Courses at once.
There is no limit to:
- The number of groups you can create.
- The number of groups a single user can belong to.
Create a Group
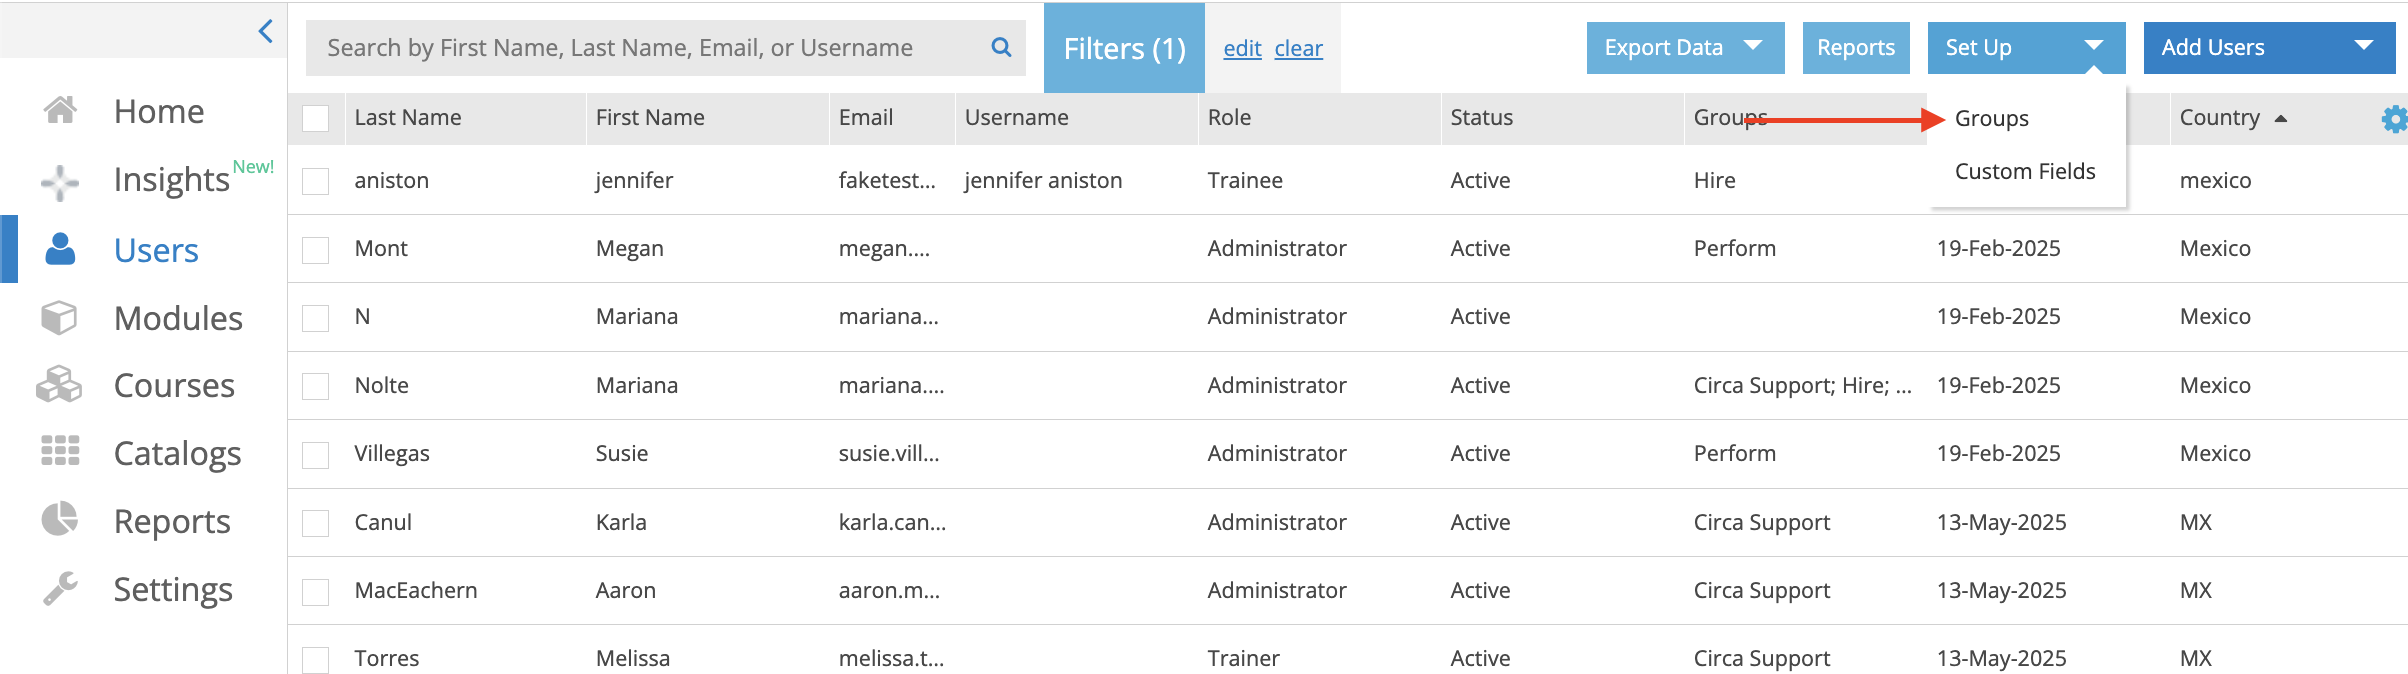
- From the left navigation menu, click Users.
-
In the upper-right corner, click the Set Up dropdown and select Groups.
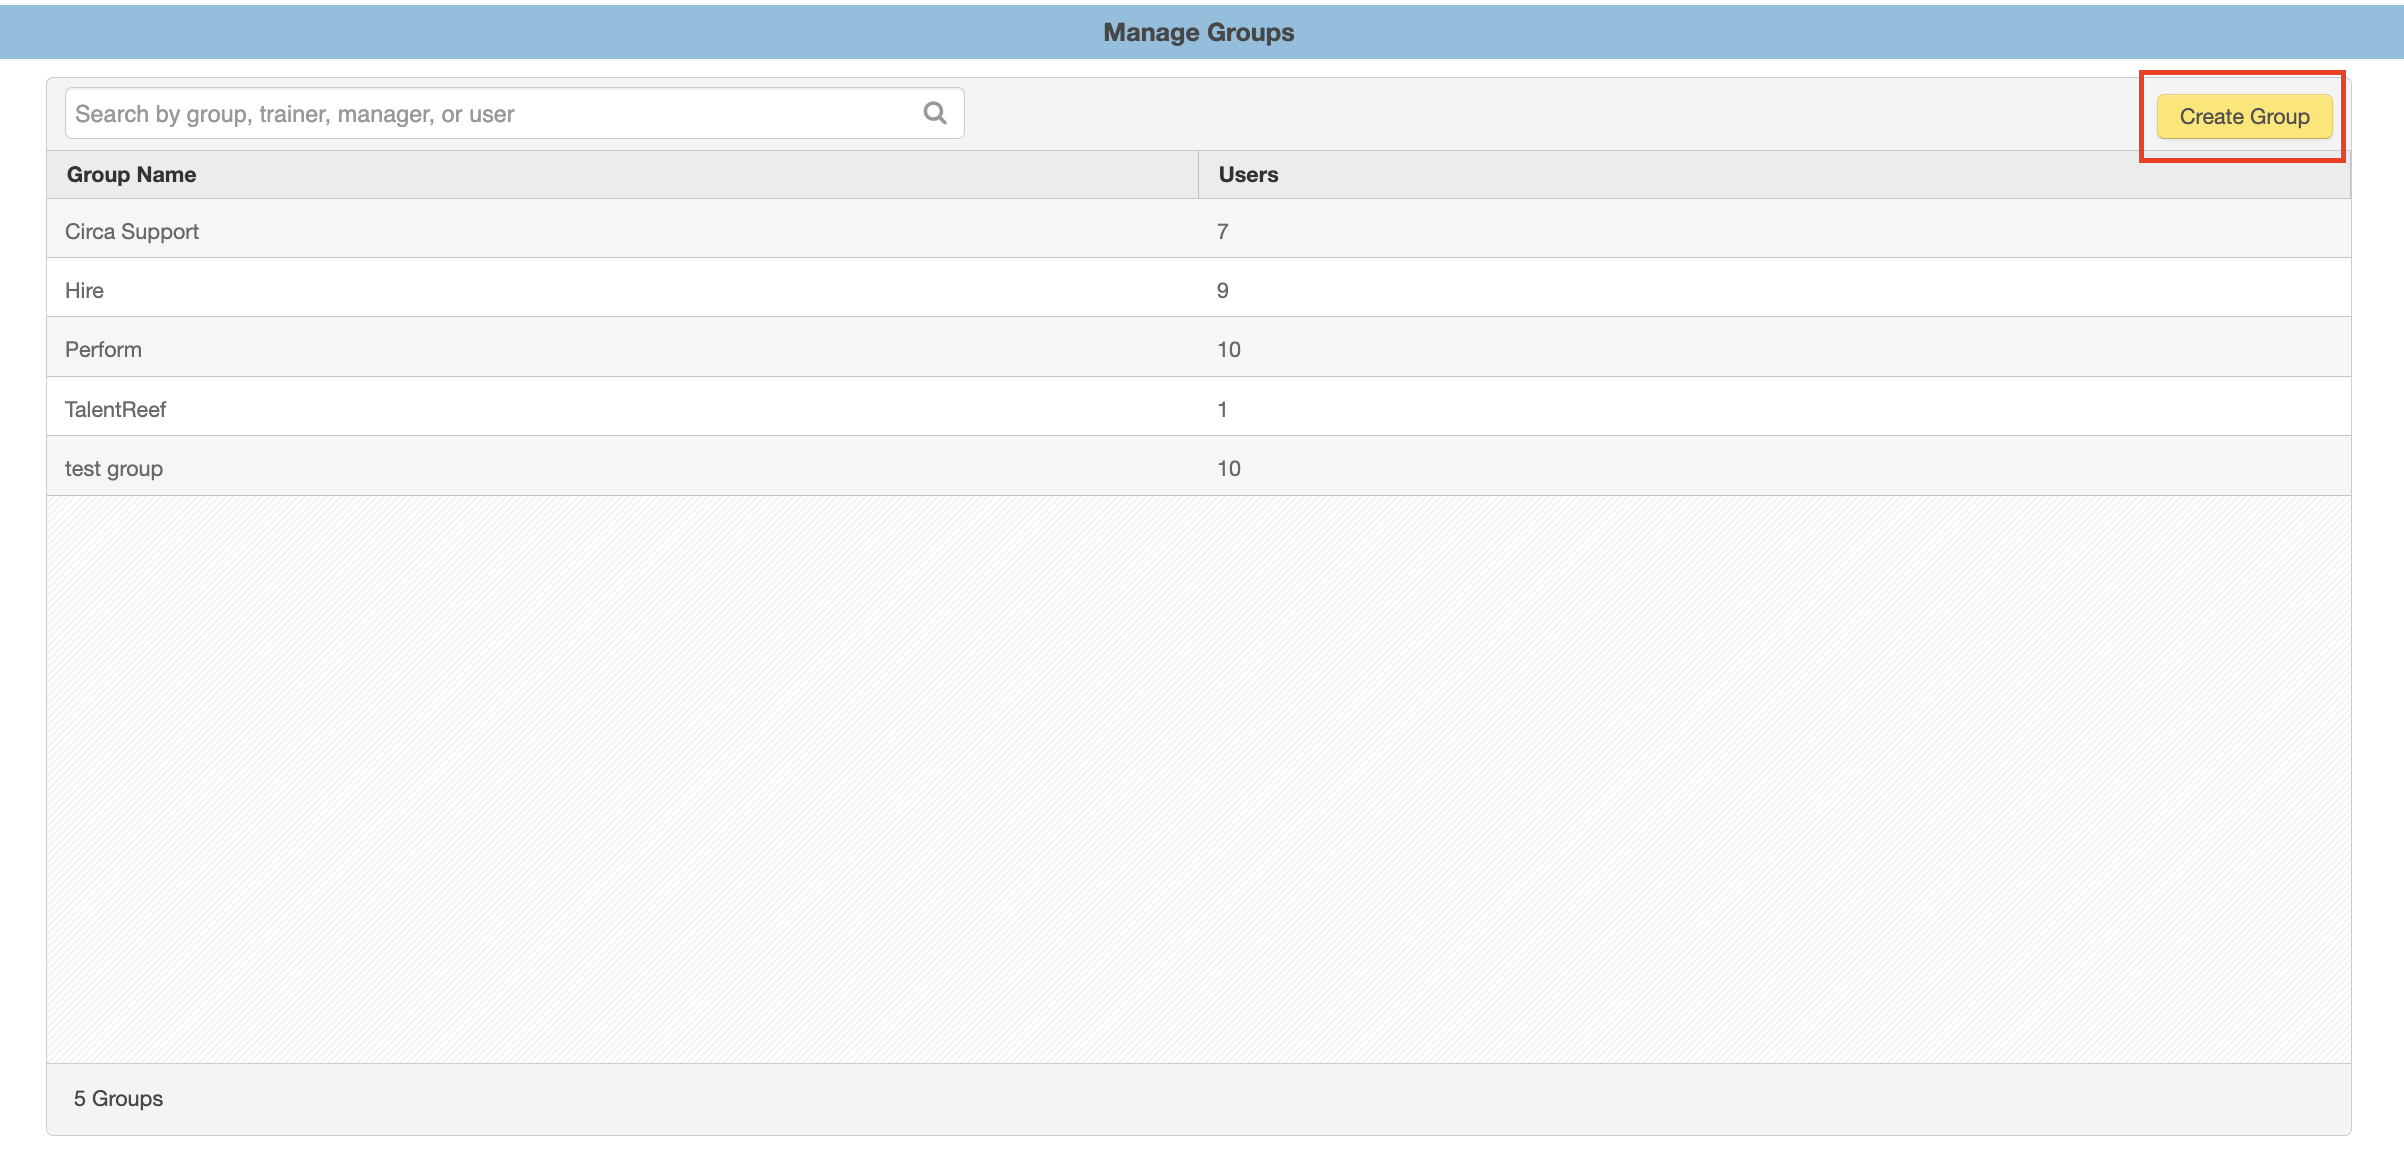
- The Groups management page will open, displaying all existing groups in your account.
-
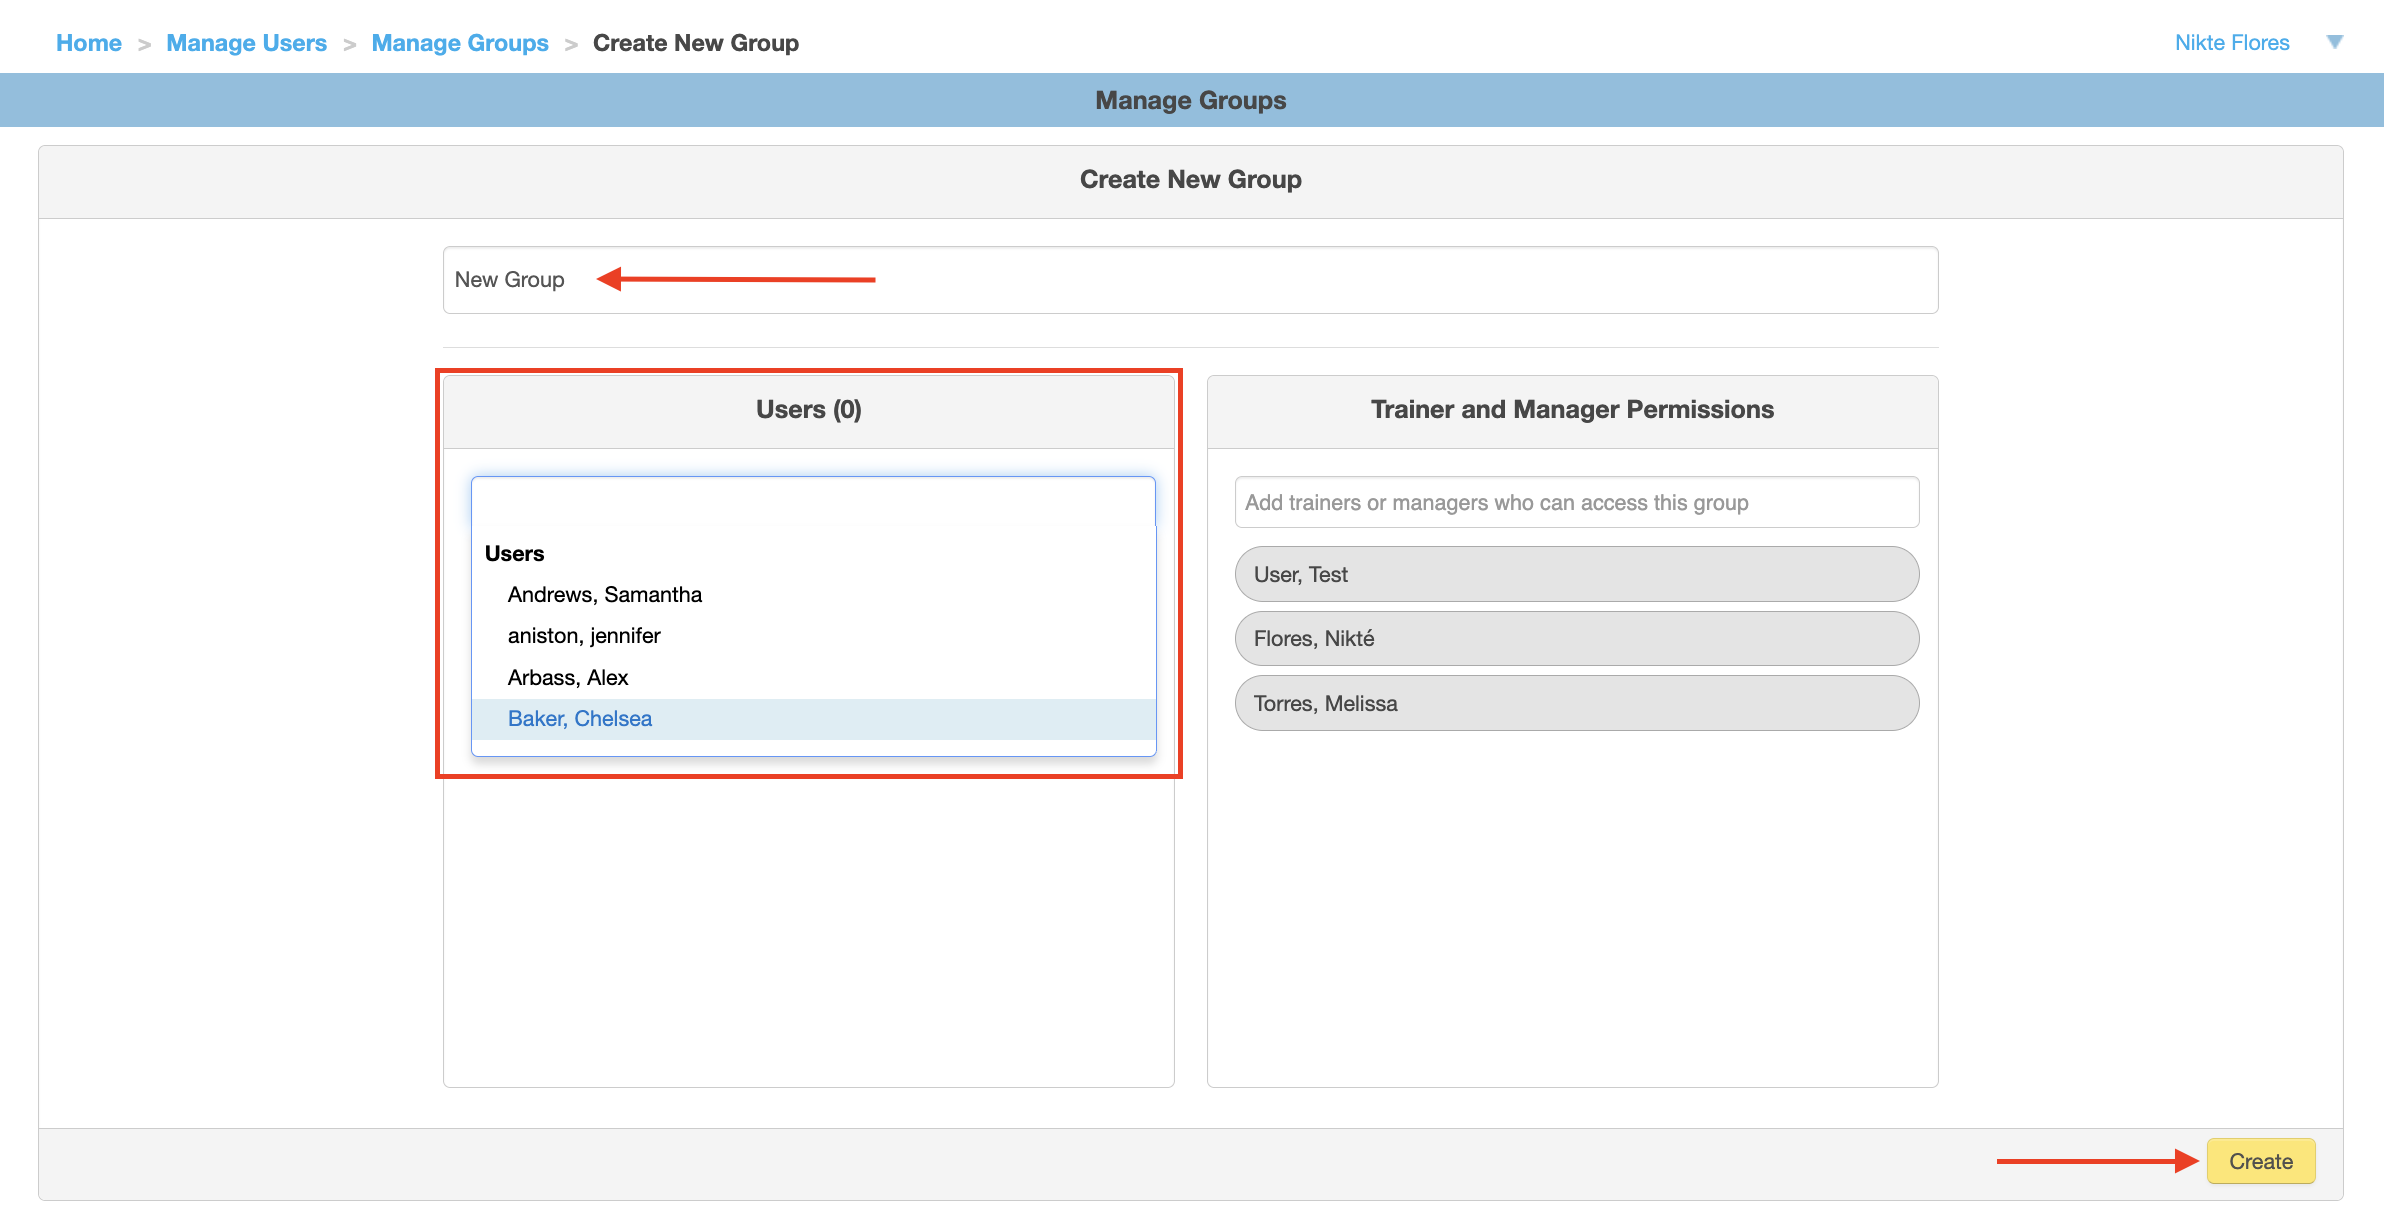
If you are an Administrator, Trainer, or Manager with access to all users, click Create Group in the upper-right corner.
- Enter a name for your new Group and press Enter.
- Once the Group has been created, select it from the list on the left to display its details.
- Use the pencil icons to:
- Rename the group.
- Add group members.
-
Remove group members.
Invite an Entire Group to a Course
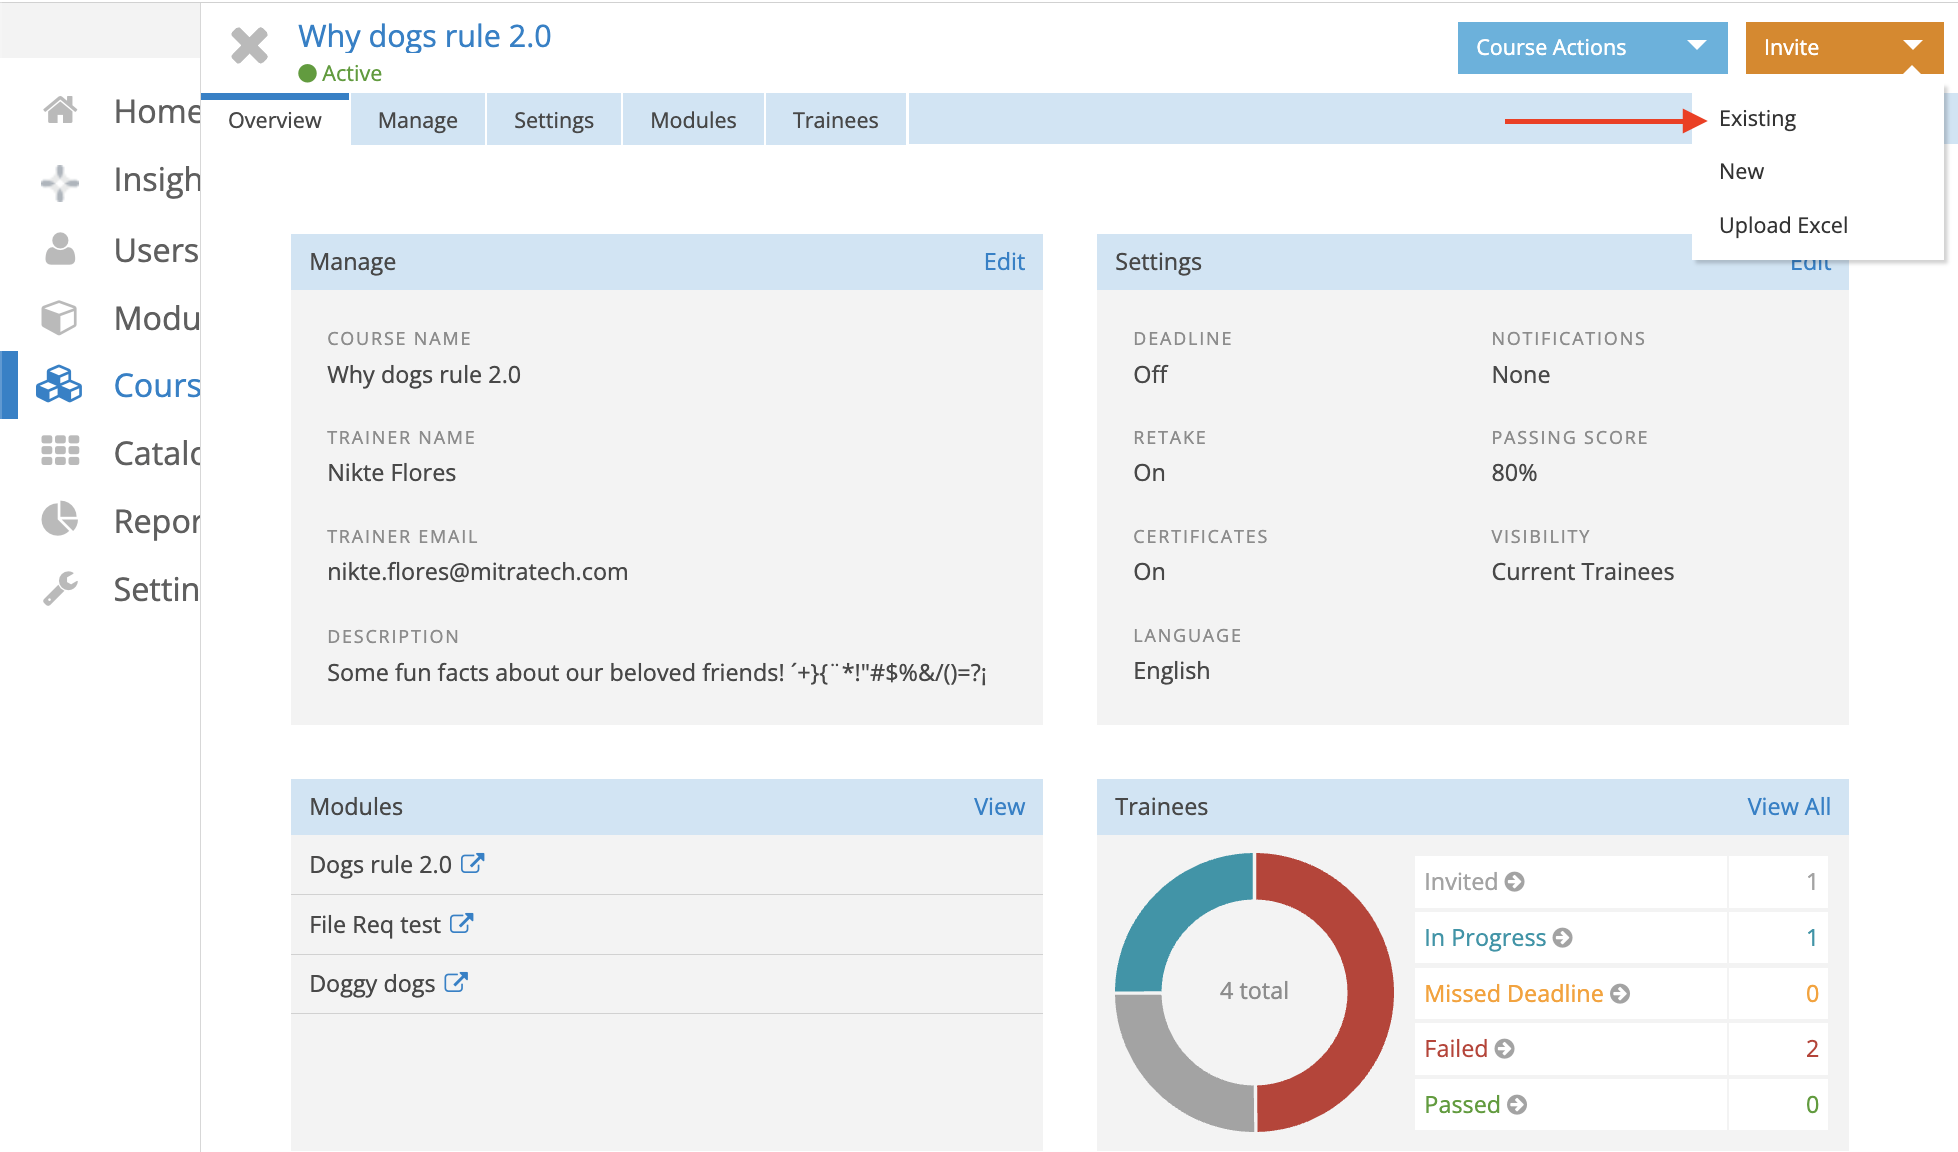
You can invite all members of a Group to a Course simultaneously.
- Open the desired Course.
- Navigate to the Invite screen.
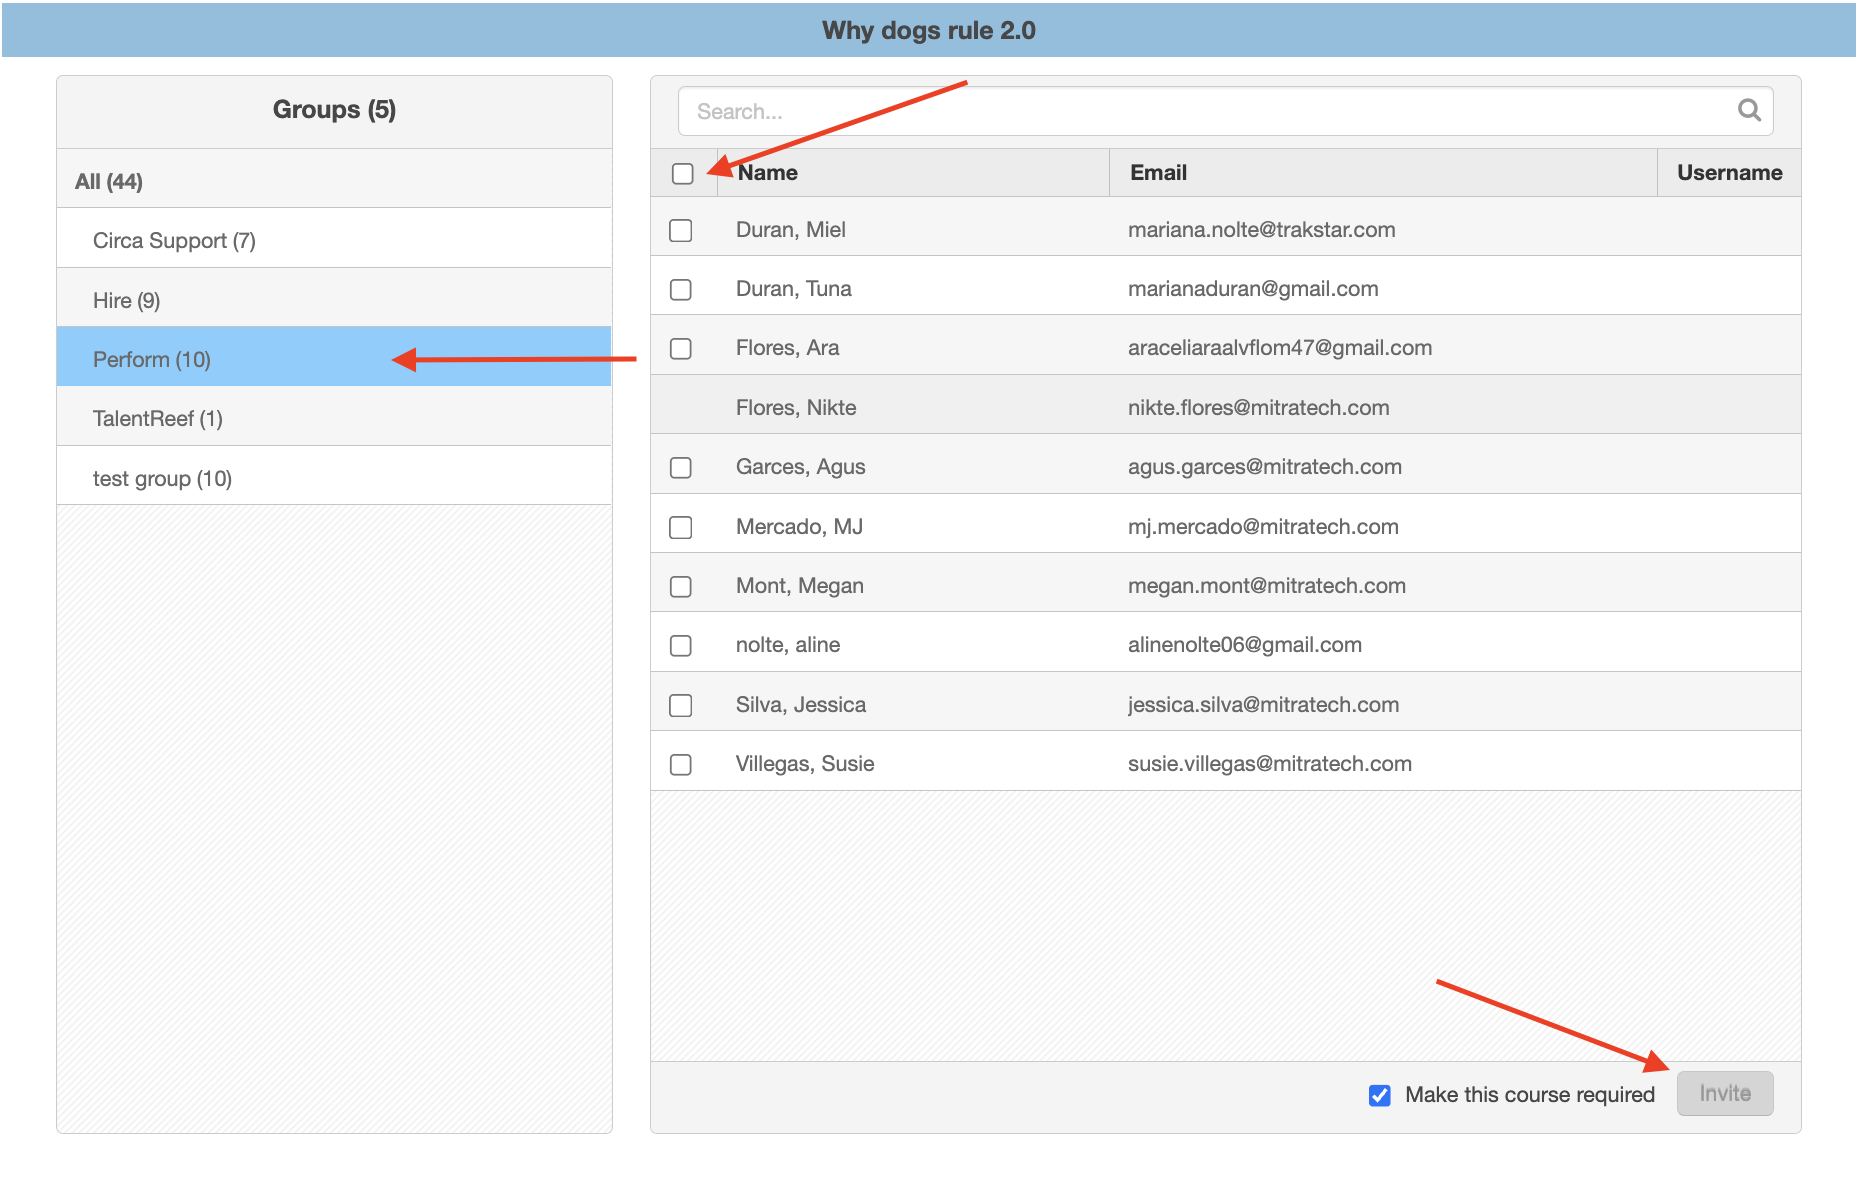
- Select the appropriate Group.
- Check the box next to the Group name to select all Trainees in that Group.