
How do I create a module?
Modules are the foundation of Trakstar Learn and are where you'll create and manage your training content. This guide walks through creating a module, configuring its settings, adding content, and preparing it for learners.
Create a Module
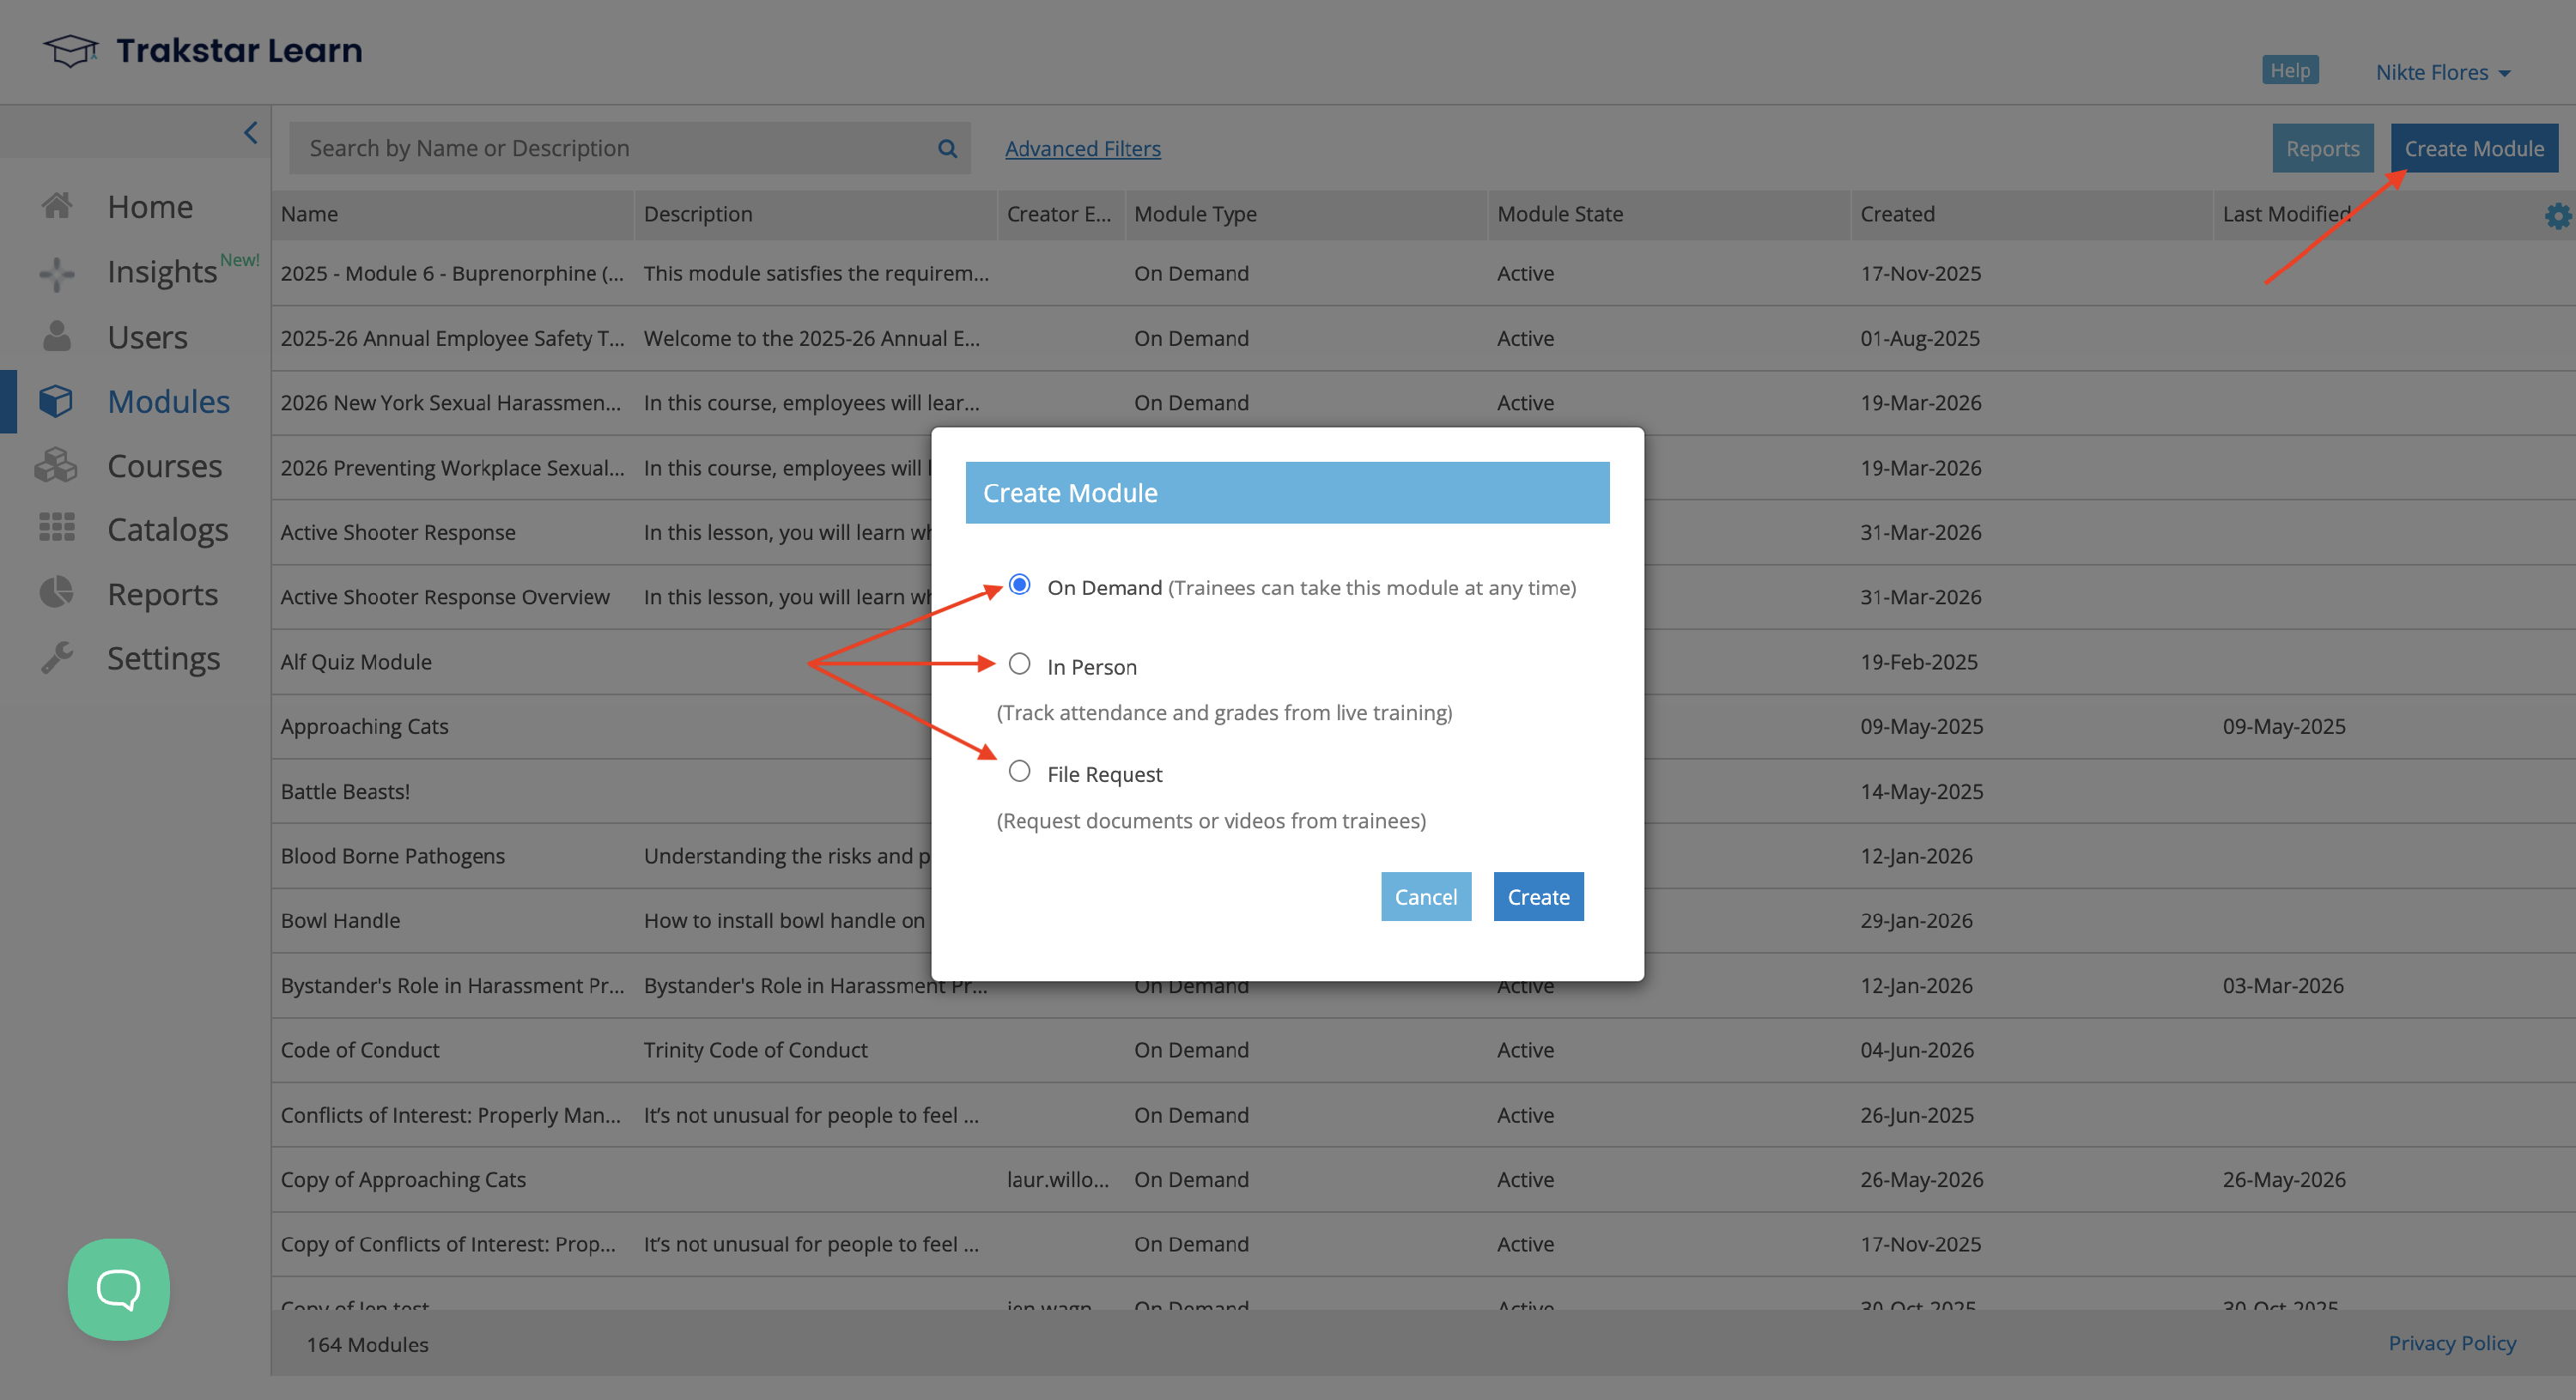
- From the left navigation menu, select Modules.
- Click Create Module in the upper-right corner.
- Select one of the available module types:
On Demand
Use an On Demand module when trainees should be able to complete training at their own pace.
This module type supports:
- Uploading learning content
- Creating quizzes
- Creating surveys
- Building self-paced training
In Person
Use an In Person module to track attendance and scores for instructor-led training.
This module type:
- Tracks attendance and completion
- Does not include a Content tab
- Cannot contain uploaded learning content
File Request
Use a File Request module when trainees need to submit documents or web links.
This module type:
- Allows administrators or trainers to request files
- Does not include a Content tab
- Cannot contain training content
After selecting the desired module type, create the module to begin configuration.
Configure the Module
After creating the module, you'll be taken to the Manage tab.
Use this page to configure the module before adding it to a course.
Module Information
Enter the following information:
- Module title
- Module description

Module Settings
Configure the module's passing requirements.
The Minimum Passing Score uses the average score across all quizzes within the module to determine whether a trainee has successfully completed it.
For more information about passing requirements, refer to the related passing score documentation.
Handouts
Handouts are downloadable resources that trainees can keep after completing training.
Common examples include:
- Employee handbooks
- Product manuals
- Reference guides
- Supplemental documentation
Handouts are separate from the primary learning content and provide additional supporting resources.
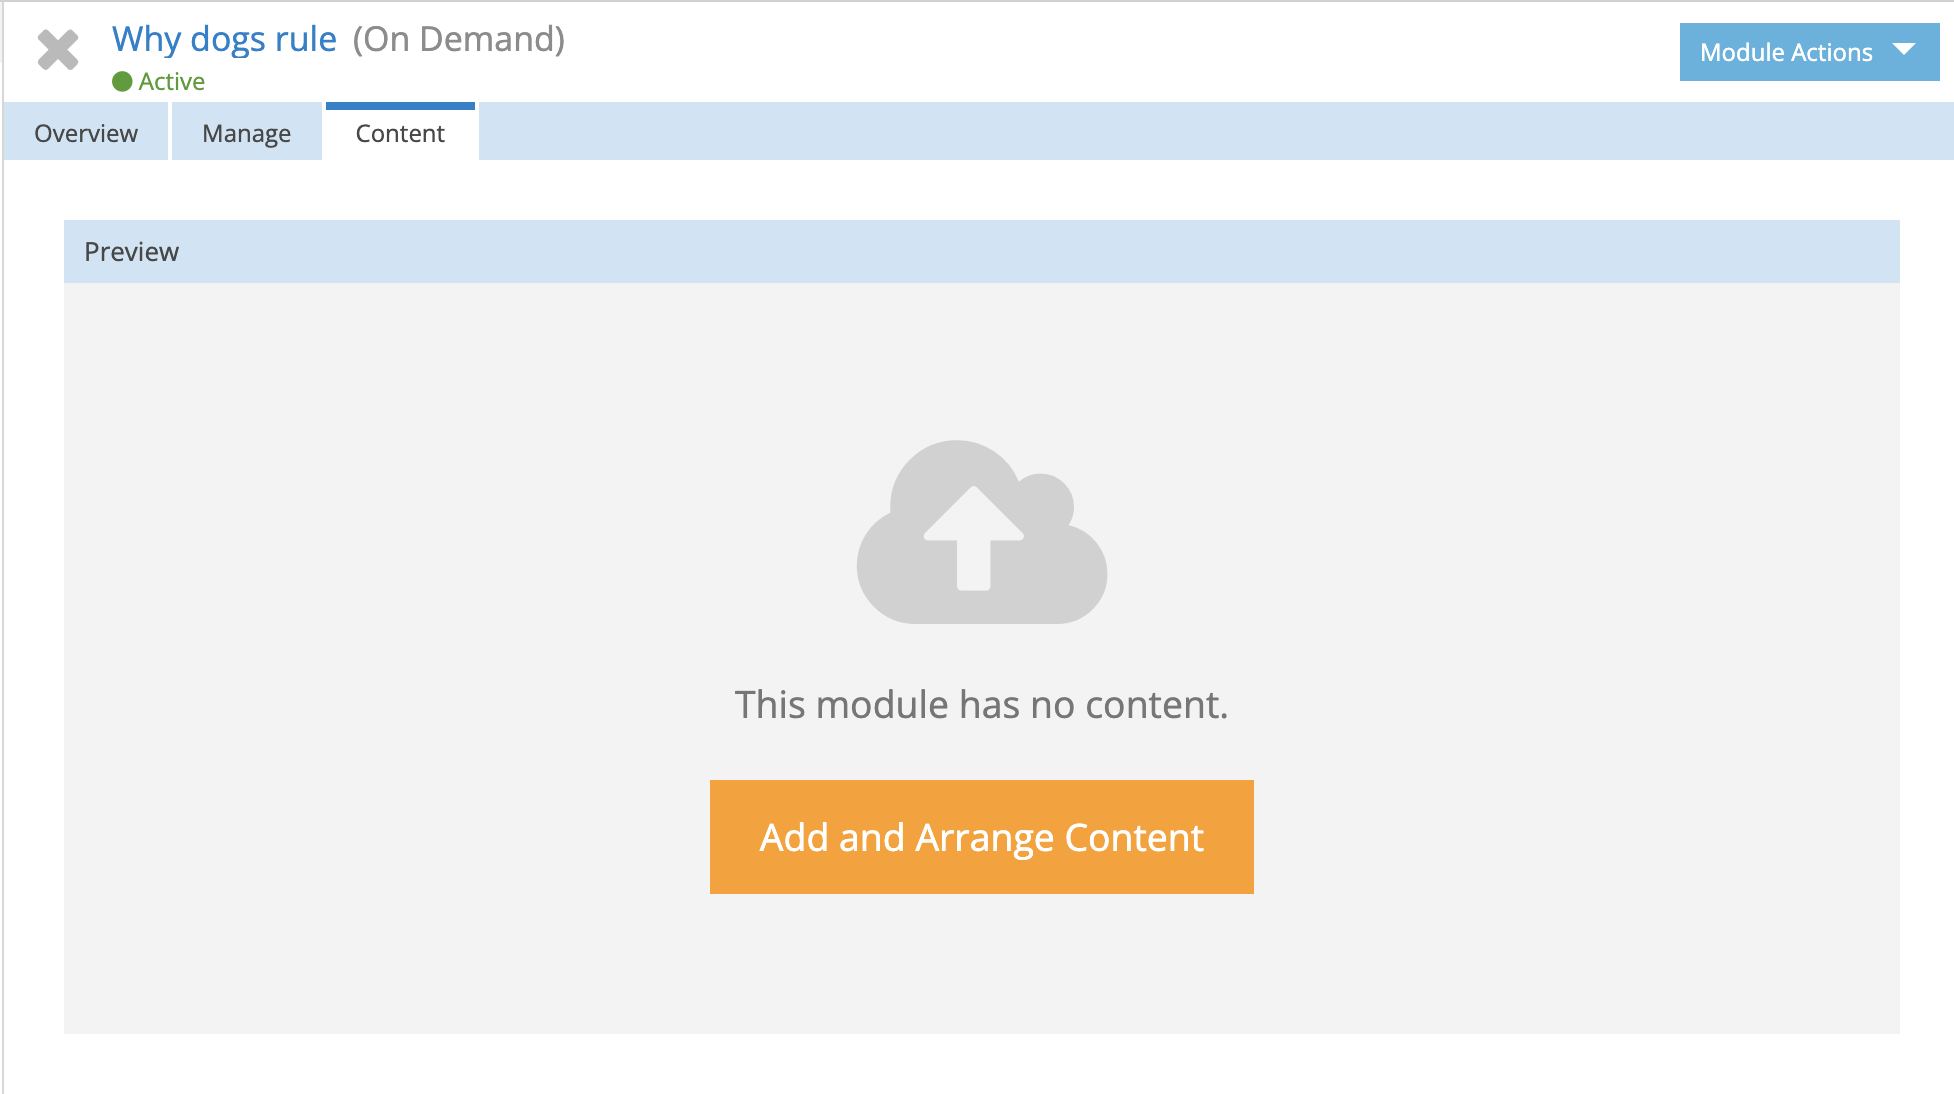
Add Module Content
For On Demand modules, use the Content tab to build your training.
Select Add and Arrange Content to begin.
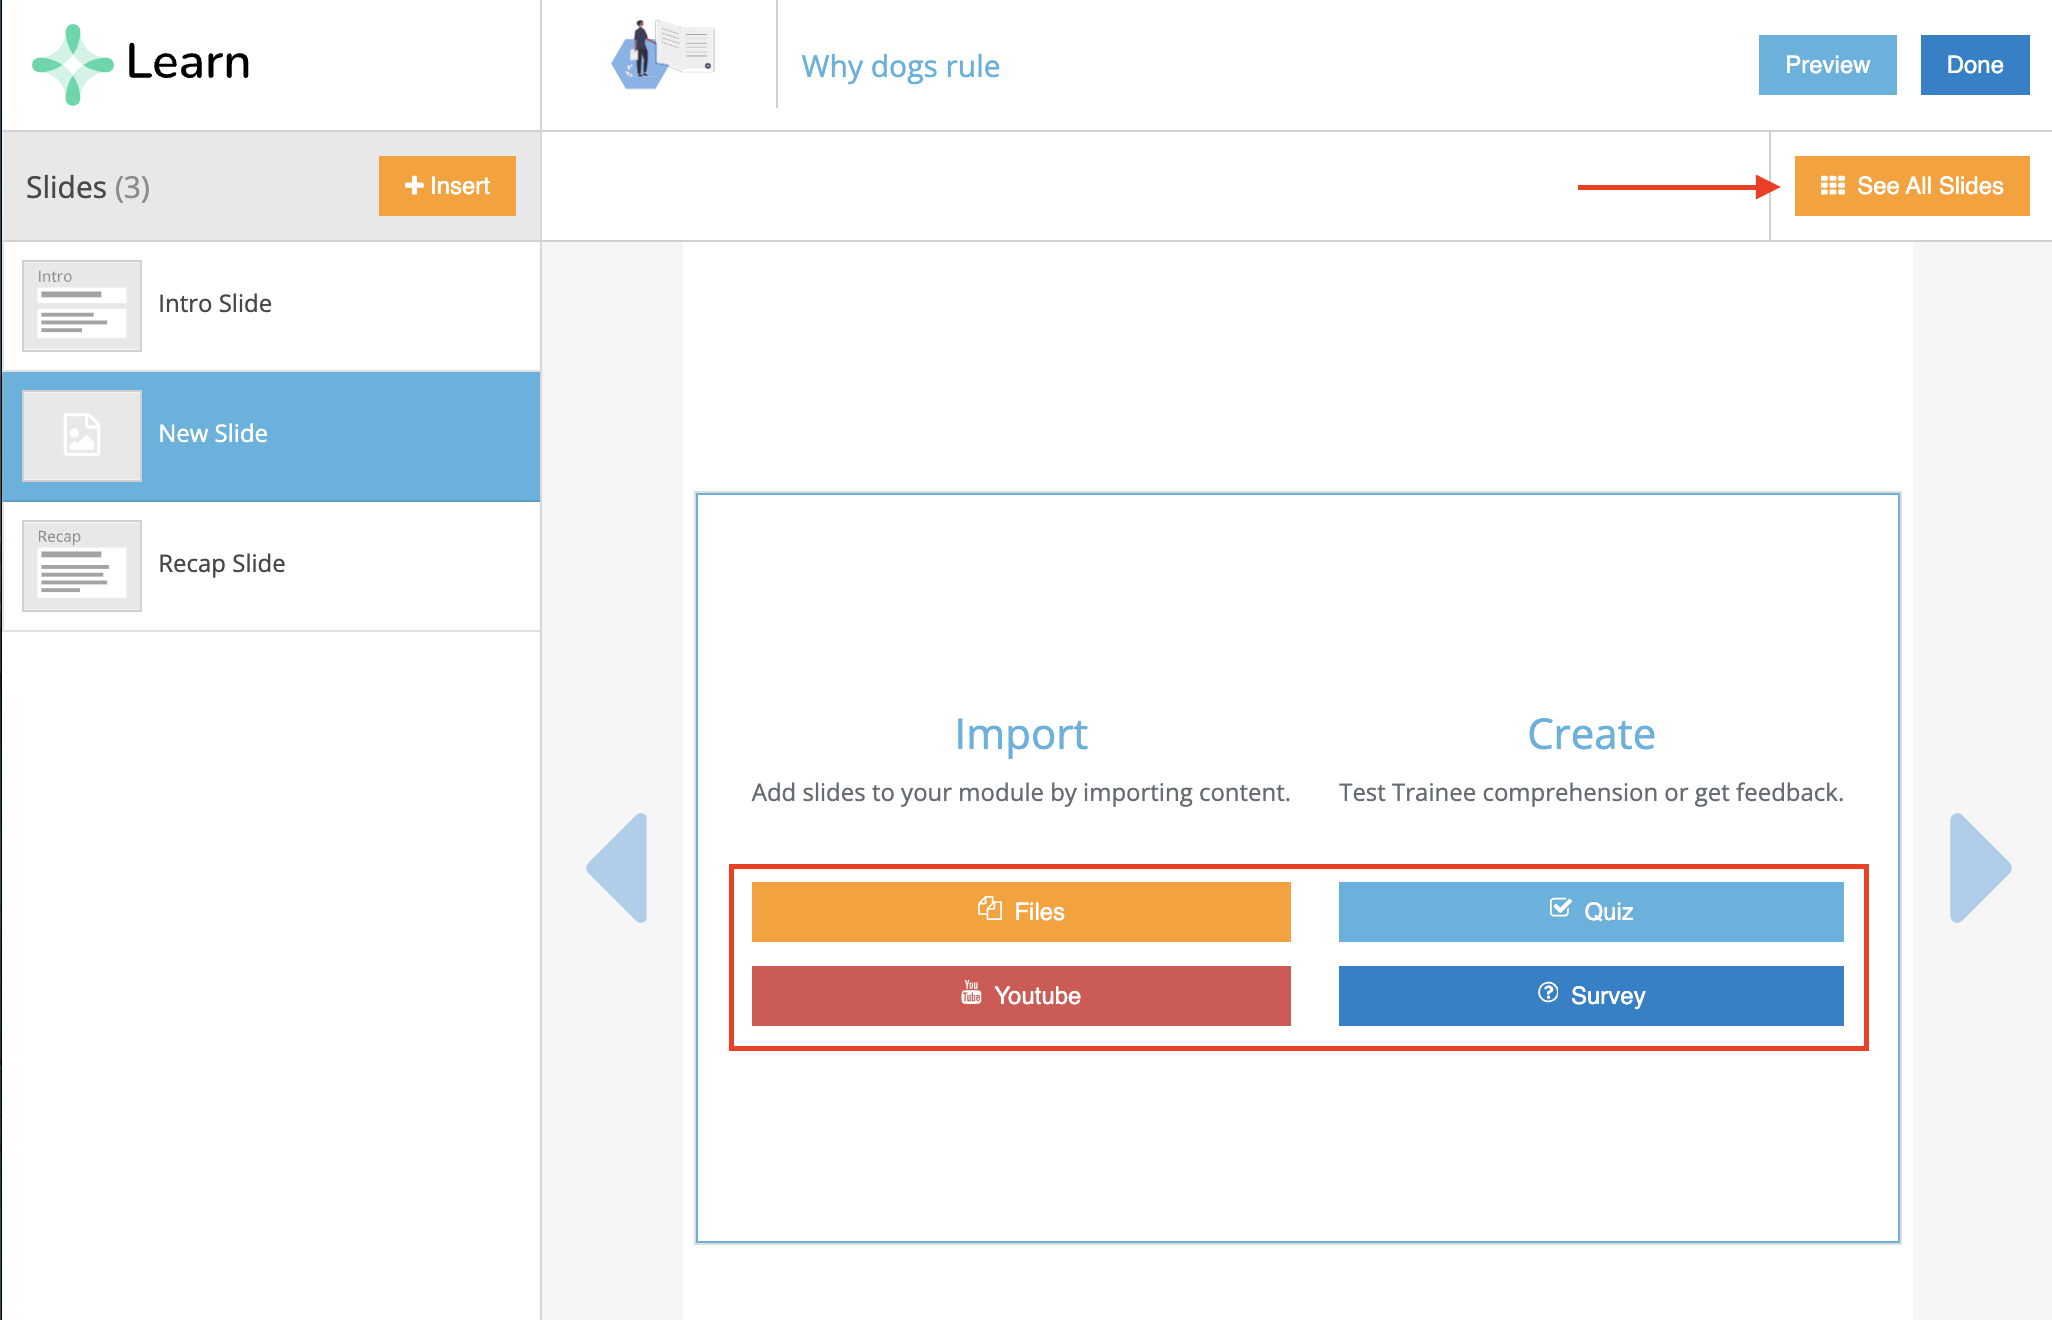
You can import content from:
- Your computer
- Box
- Dropbox
- YouTube
After selecting your source, upload the file. Learn processes uploaded files through an import and conversion procedure before they become available within the module.
Add Interactive Content
In addition to uploaded files, you can create:
All uploaded files, quizzes, and surveys appear in the content list on the left side of the arranger.
The slide preview appears on the right.
You can switch between:
- See Slide Detail
- See All Slides
Depending on how you'd like to organize your content.
Organize Module Content
Arrange your content in the order that trainees should complete it.
To reorder content:
- Select one or more slides.
- Drag and drop them to the desired location.
Important
The following items cannot be moved:
- Survey slide
- Intro slide
- Recap slide
If you want documents, videos, or other files to appear within a quiz section, drag those slides into the quiz.
When selecting a slide that belongs to a quiz, the entire quiz moves together as a single unit.
Add Audio
To add audio to your slides, you can record narration directly within the module.
Audio can be added to:
- Intro slides
- Recap slides
- PowerPoint files
- PDF documents
- Word documents
Audio cannot be added to:
- Quizzes
- Surveys
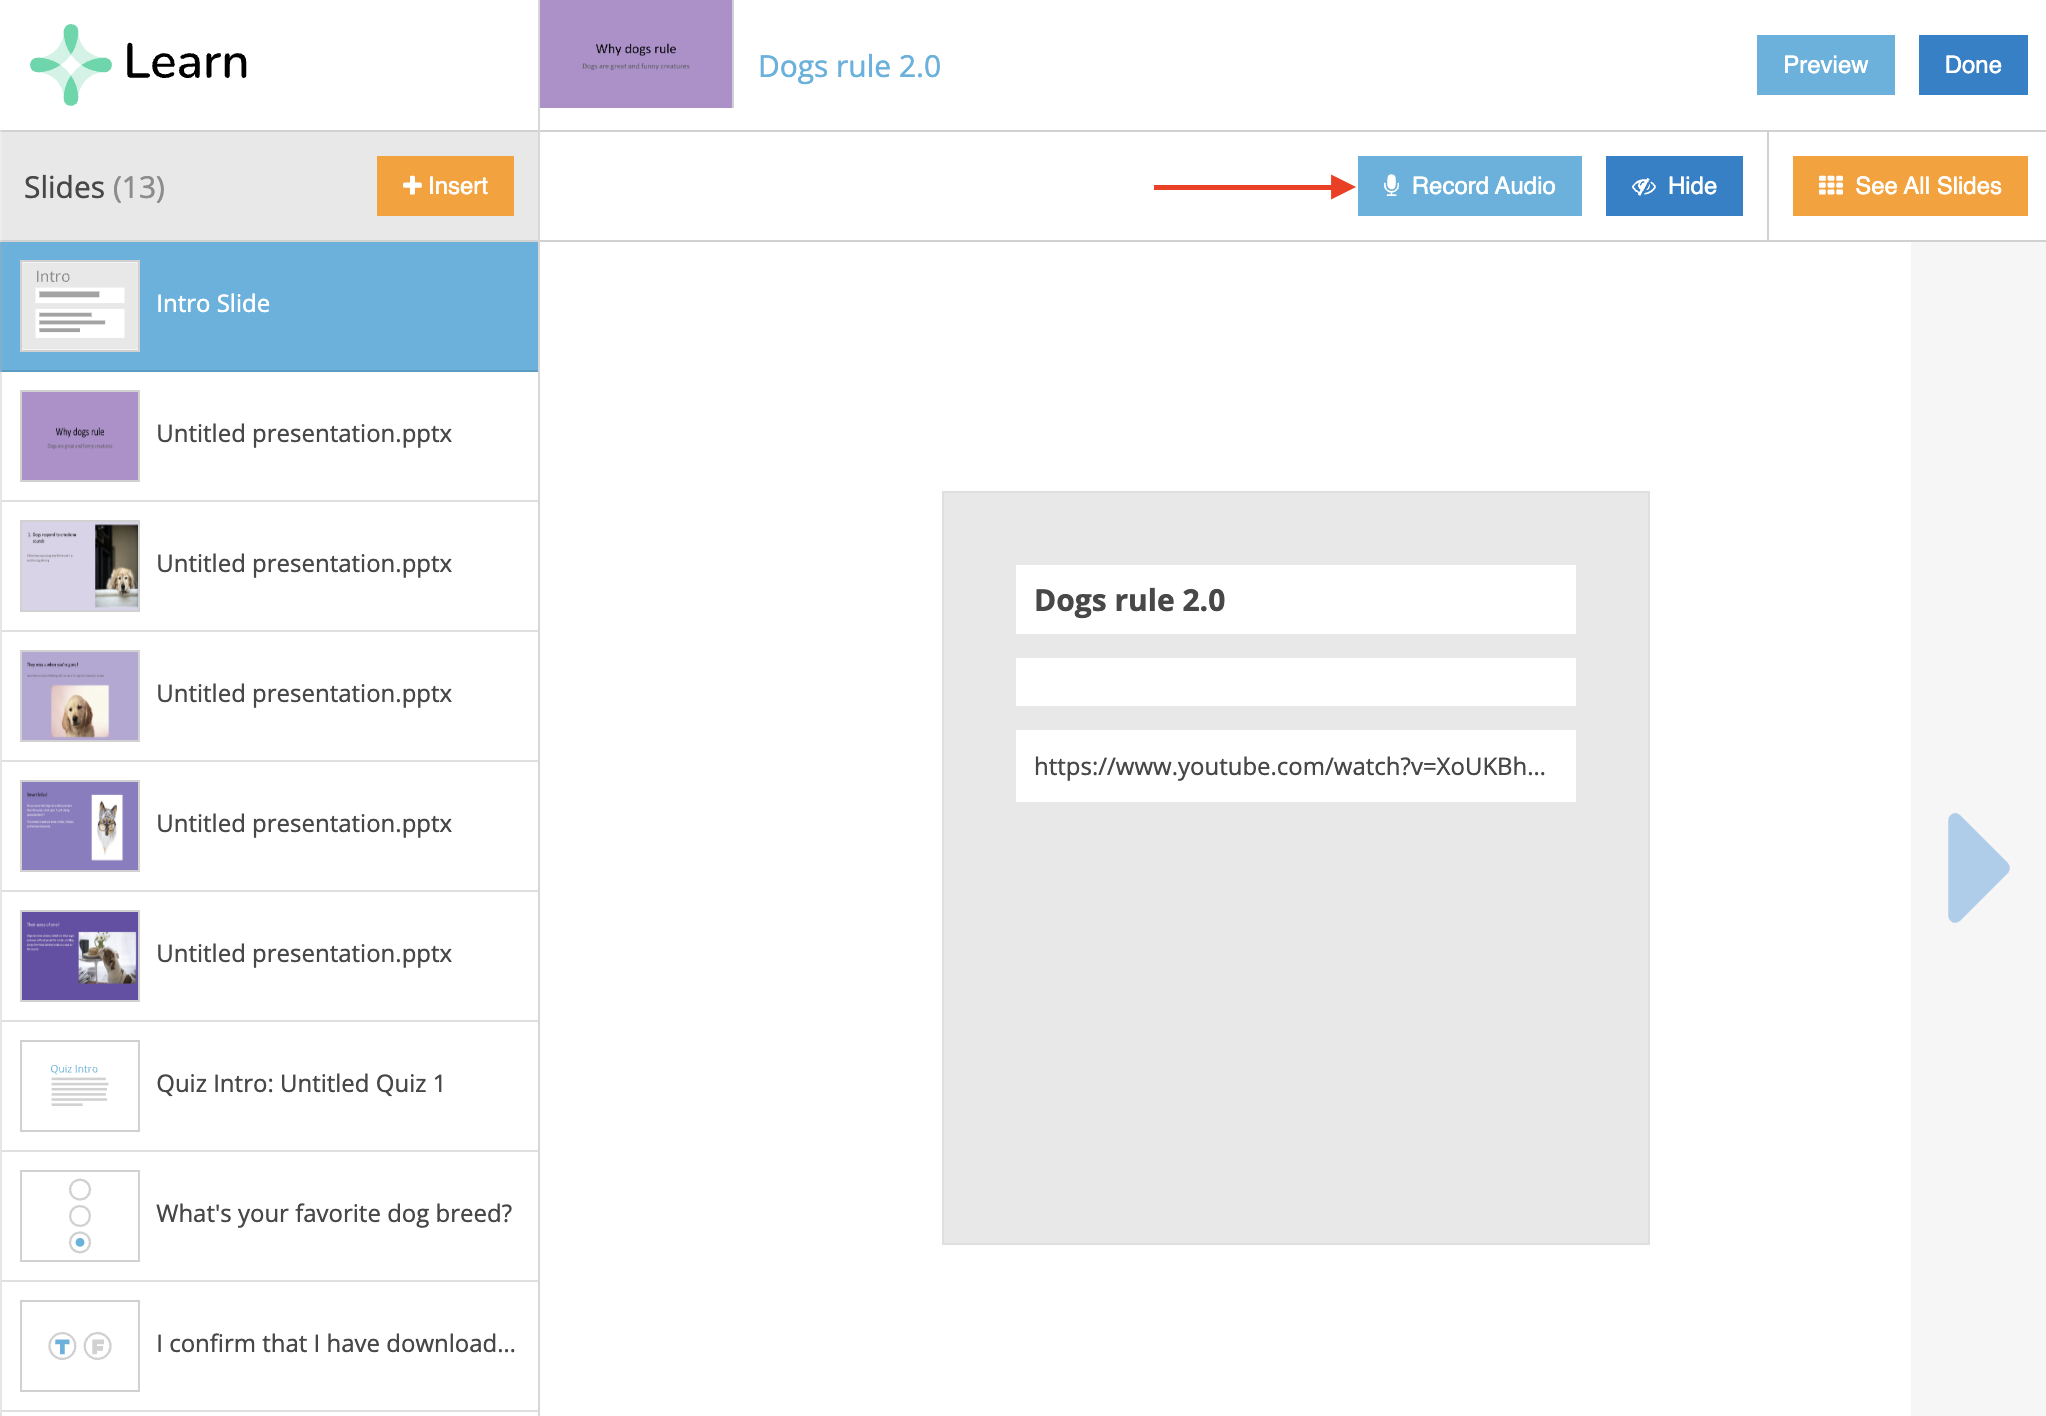
Additional Content Options
You can further customize your module by using these options:
-
Hide individual slides using the Eye icon.
Display PDF and Word documents as either:
- Individual pages
- One continuous scrolling document
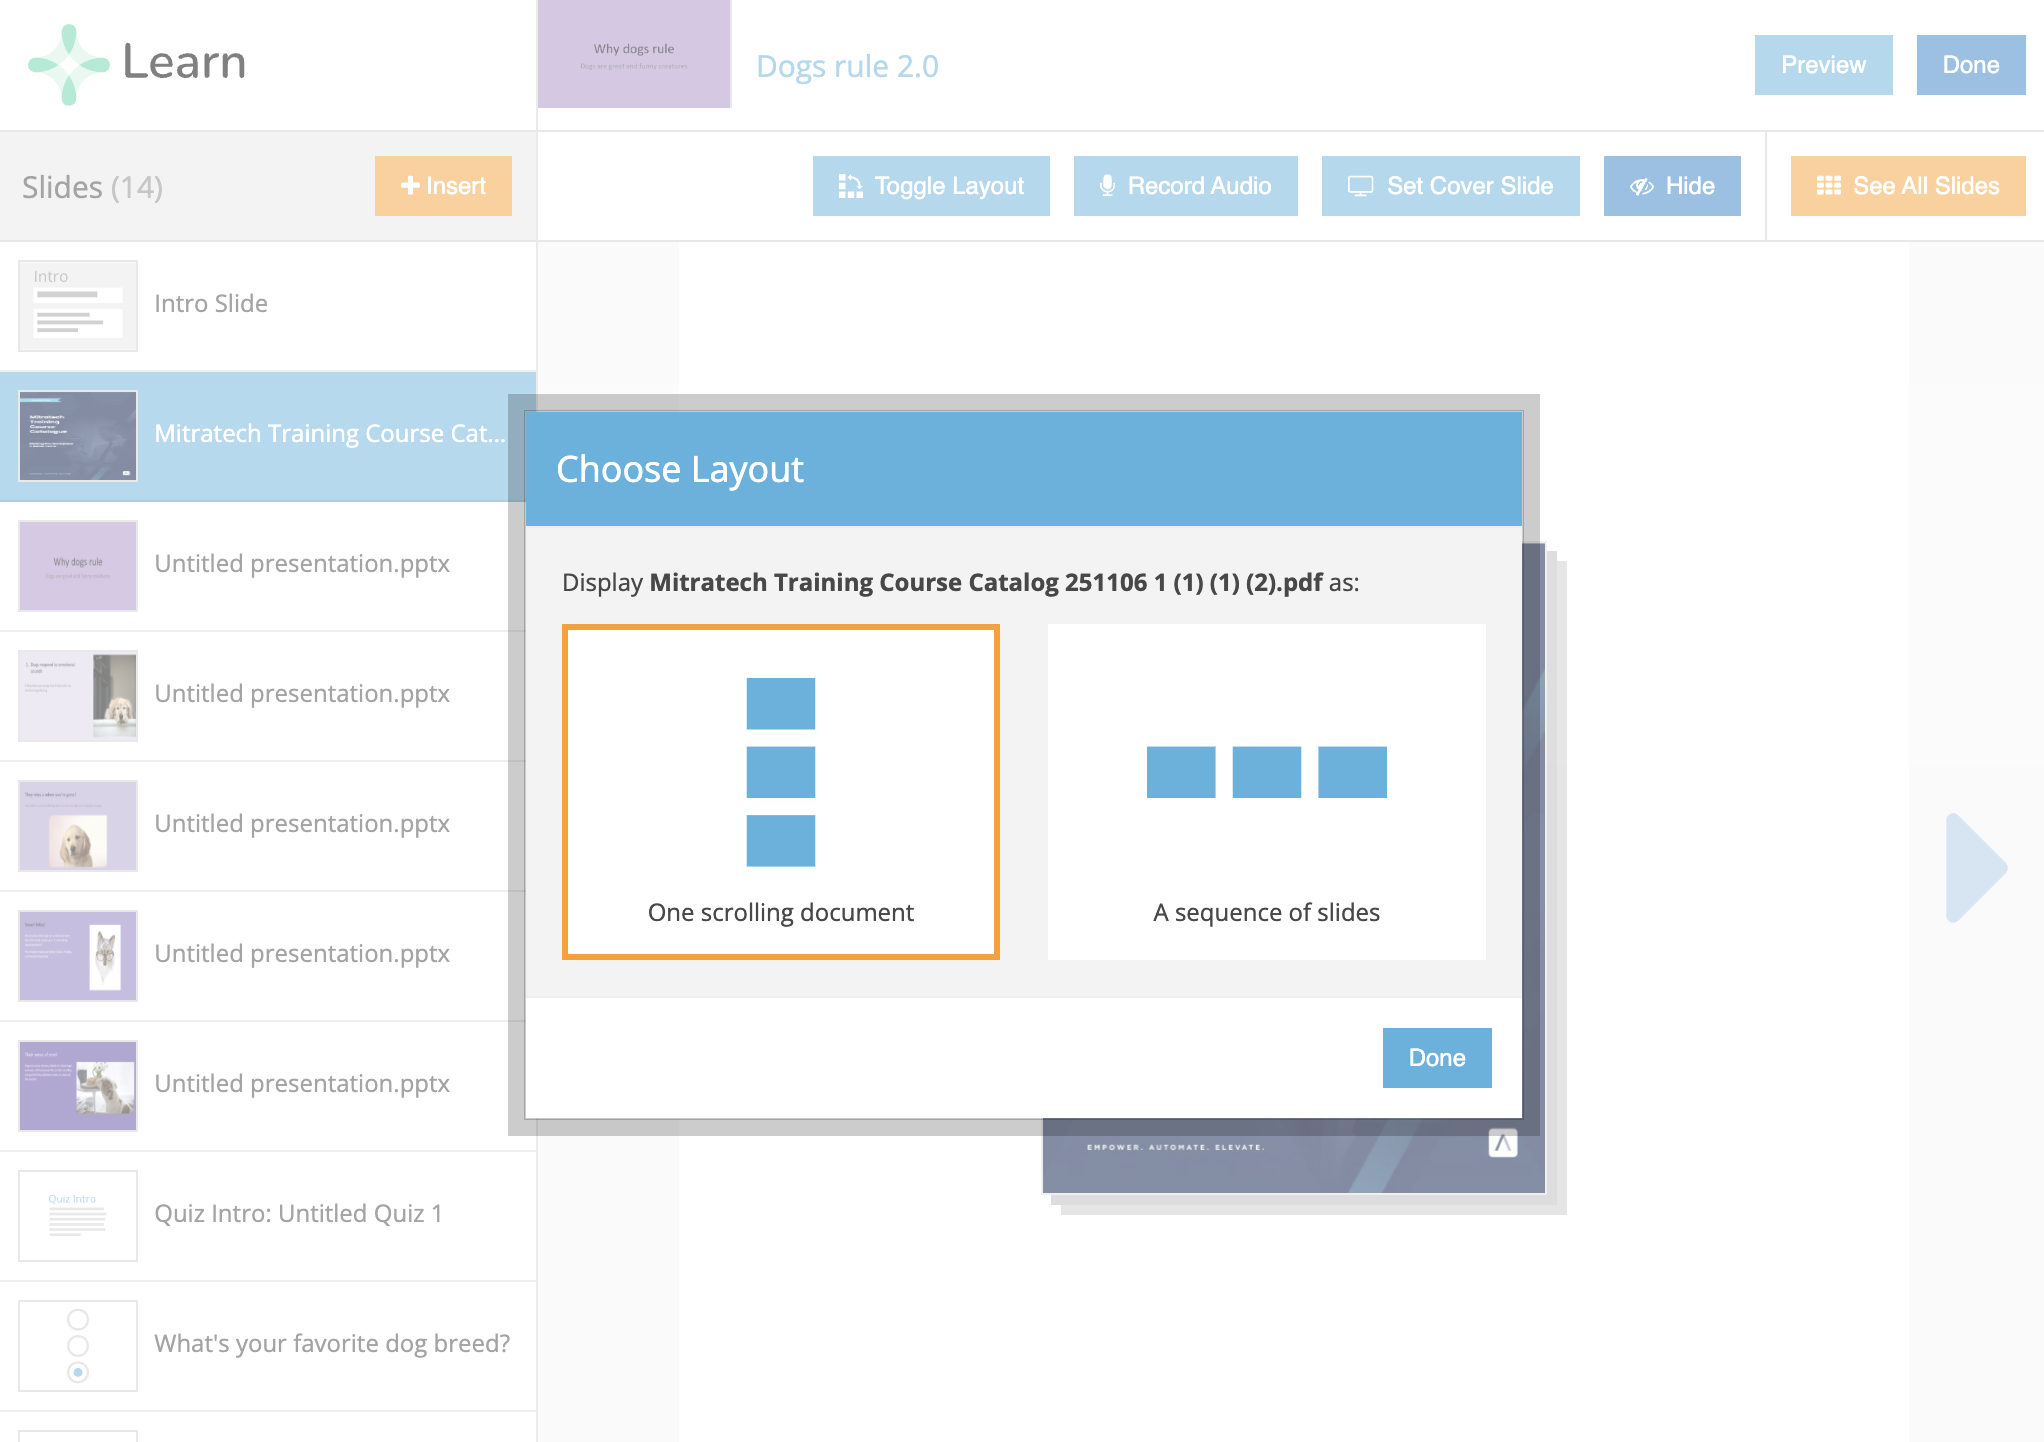
When you've finished building your module, click Done to save your changes.
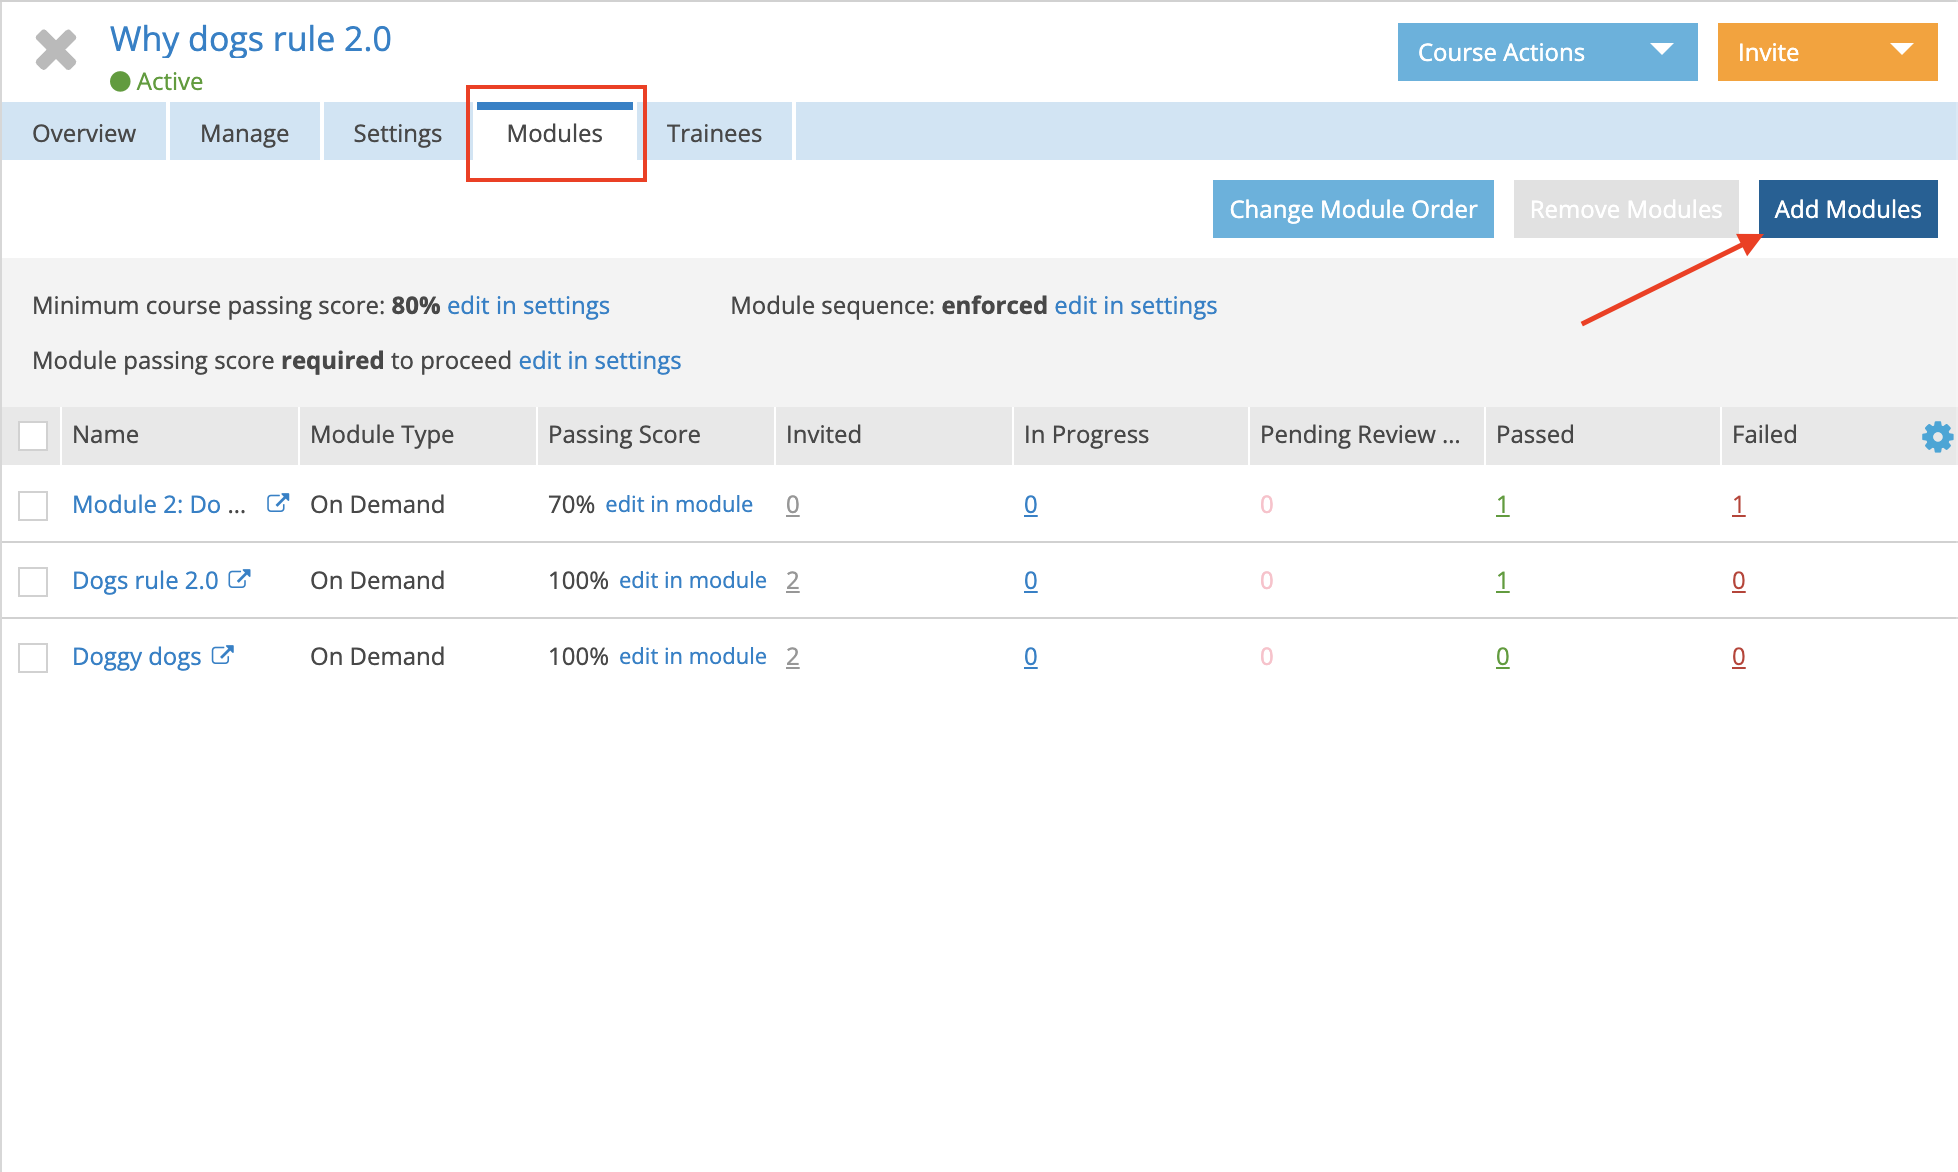
Add the Module to a Course
Modules must be added to a course before trainees can access them.
Once your module is complete:
- Create or open a course.
- Add the module to that course.
- Invite trainees to begin their training.
Note: If a course contains only an In Person module, invited trainees will not receive a course invitation email. They can still access any handouts from their trainee dashboard. If the course contains both In Person and On Demand modules, trainees will receive the course invitation email.
Questions? Feel free to reach out at any time at learn@trakstar.com! 🙂